
Cab, shell, frame, fuel tank, end rails (two pieces), side railing (four pieces), horn, A/C unit, antenna plate.
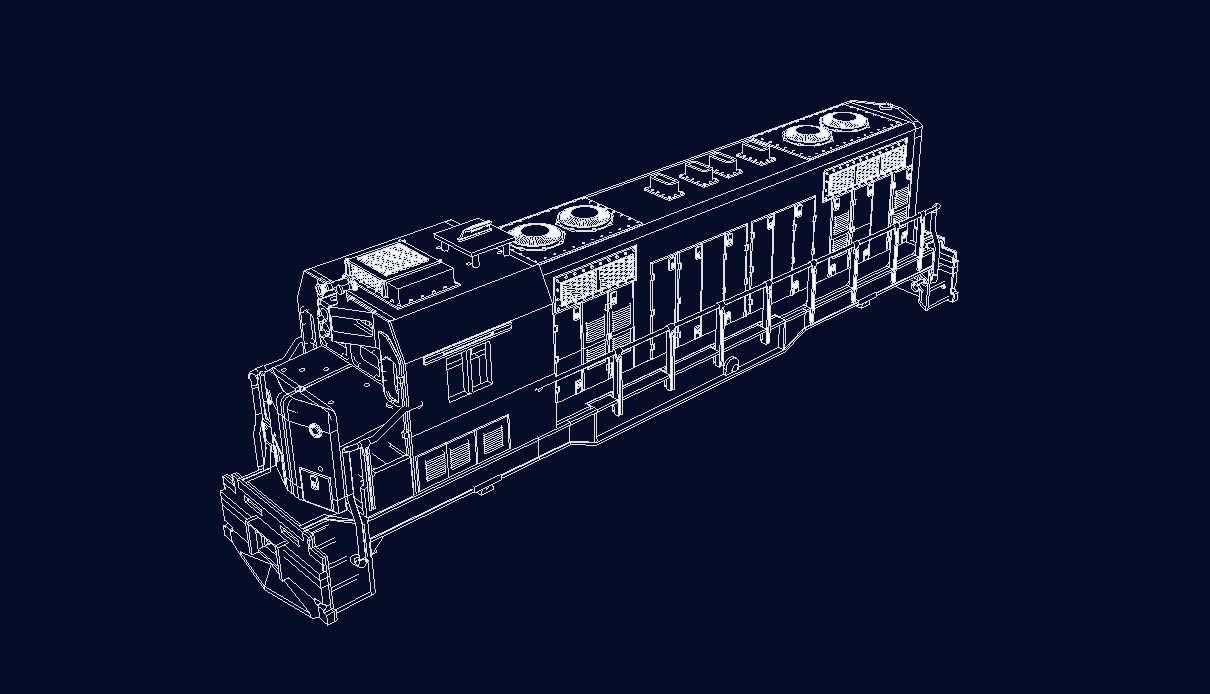
Install the fuel tank to the mechanism prior to mounting the shell. It's a tight fit, so having an unobstructed hold of the parts without the shell makes it easier to install/remove. Take note of orientation to ensure the fuel tank portion of the piece is towards the rear of the locomotive with the compartments forward.

The horn and antenna pieces are fragile so please use caution when handling. The antenna plate has pins that insert into pre-formed holes at the rear of the cab roof. You may need to use a micro-drill bit to widen the holes if they are too snug. Note the orientation of the sinclair antenna. For the horn, orient it such that the large horn is facing forward, while the two smaller horns face the rear. Also take caution not to insert the horn too deep into its mounting location as it could obstruct the light tunnel of the upper headlamp.
The air conditioning unit should be roughly centered between the antenna plate and horn, as well as centered left and right to the cab sides.
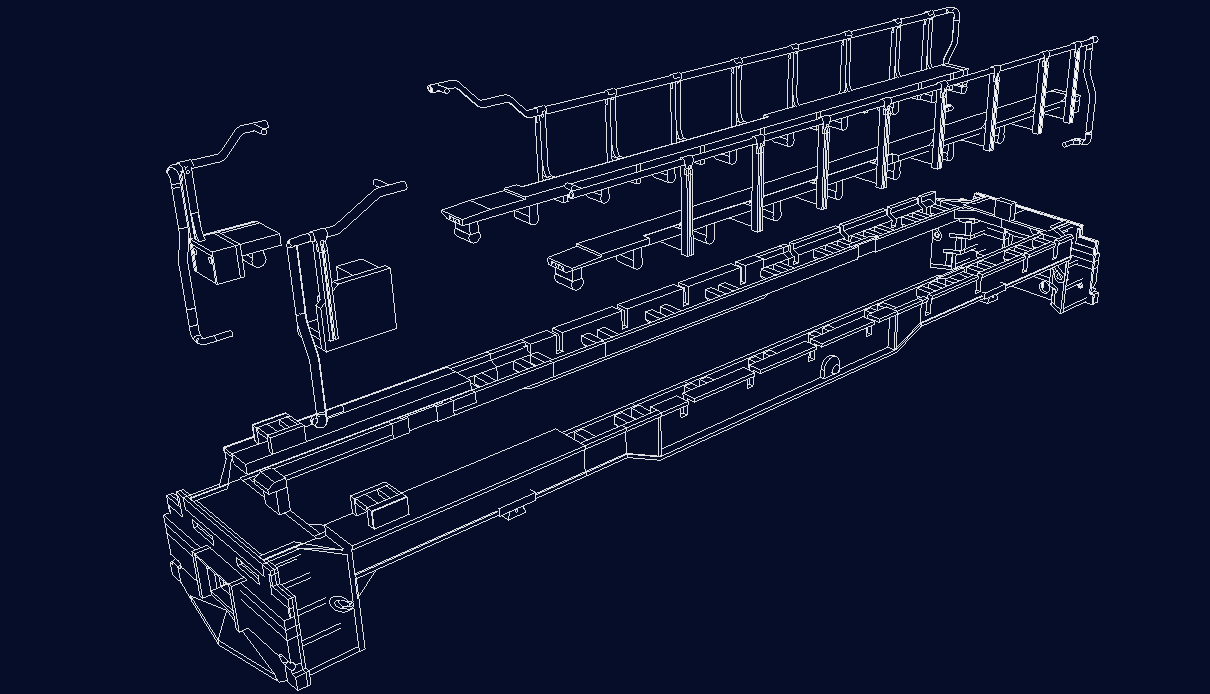
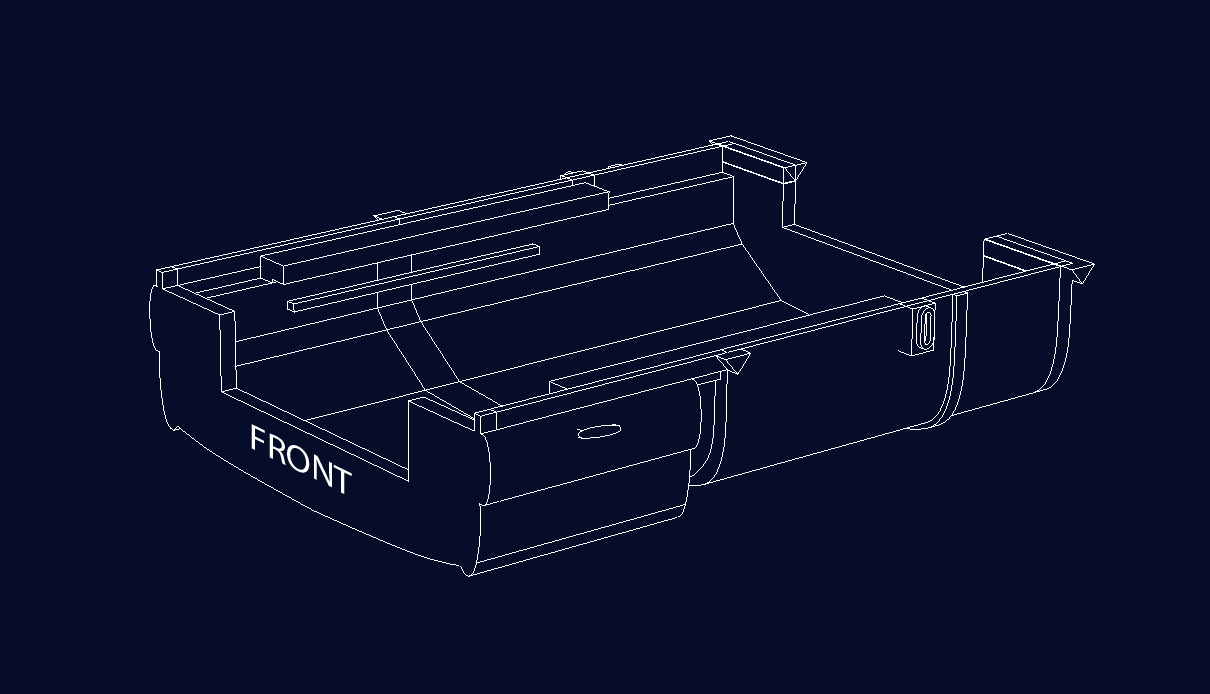
To begin assembly of the shell, start with the frame and insert walkways with integrated handrails. Each piece is keyed to press fit into their proper locations on the frame. The short rails in front of the cab are sometimes difficult to key in due to variances in the viscocity of the durable resin used to manufacture these parts. Please be extra careful during installation of these parts as they can be fragile. Once the railing is firmly in place, it's time to add the hood.

Installing the hood is straight forward, however you'll want to be aware of the four locking tabs on the bottom edge of the shell. Since the hood piece is printed in a detail resin, the tabs are fragile and should be locked into the frame by gently squeezing the hood such that the tabs clear the frame as the piece is inserted. When releasing the squeeze the tabs will be able to lock into their natural position, further securing the parts at final assembly when the frame is planed on the drive mechanism. But first, the nose of the shell should be inserted before the side tabs, as there is a locking tab located on the front of the frame to help keep the assembly secured.

To install the cab, simply slide it down along the guide rails on the shell until the bottom is resting on the frame. Be sure to monitor and clear the handrails of the cab's bottom section as you slide the cab into position.
Handrail ends should easily pin into the holes located at the side of the cab. To remove the cab after assembly, lift the cab slightly, then release the handrail pins being careful to never over-stress the railing.
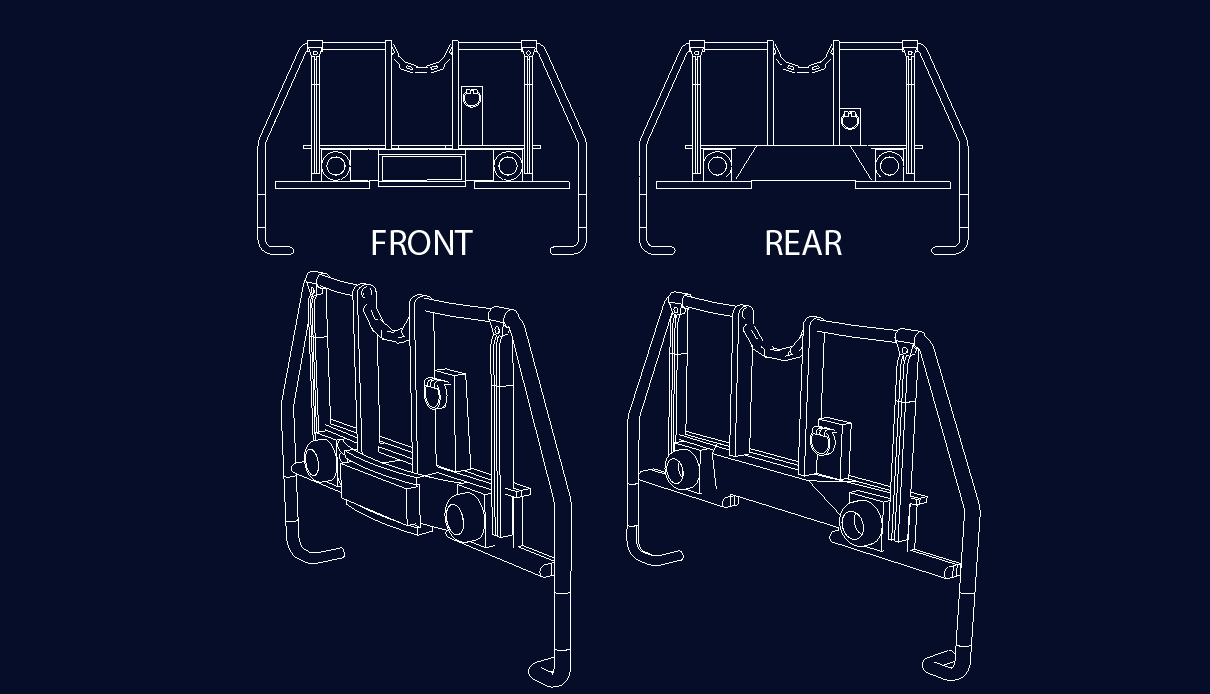
The end rail pieces for the CF-7 are each unique in design, so please note orientation prior to adding to the frame.

The end rails have a tab and socket mounting system. To remove them, apply gentle prying and wedging with a hobby knife or thin edge to ease the railing out of the frame.
As with all railing pieces, be aware of the forces you're applying to them. They will break if excess pressures are applied.
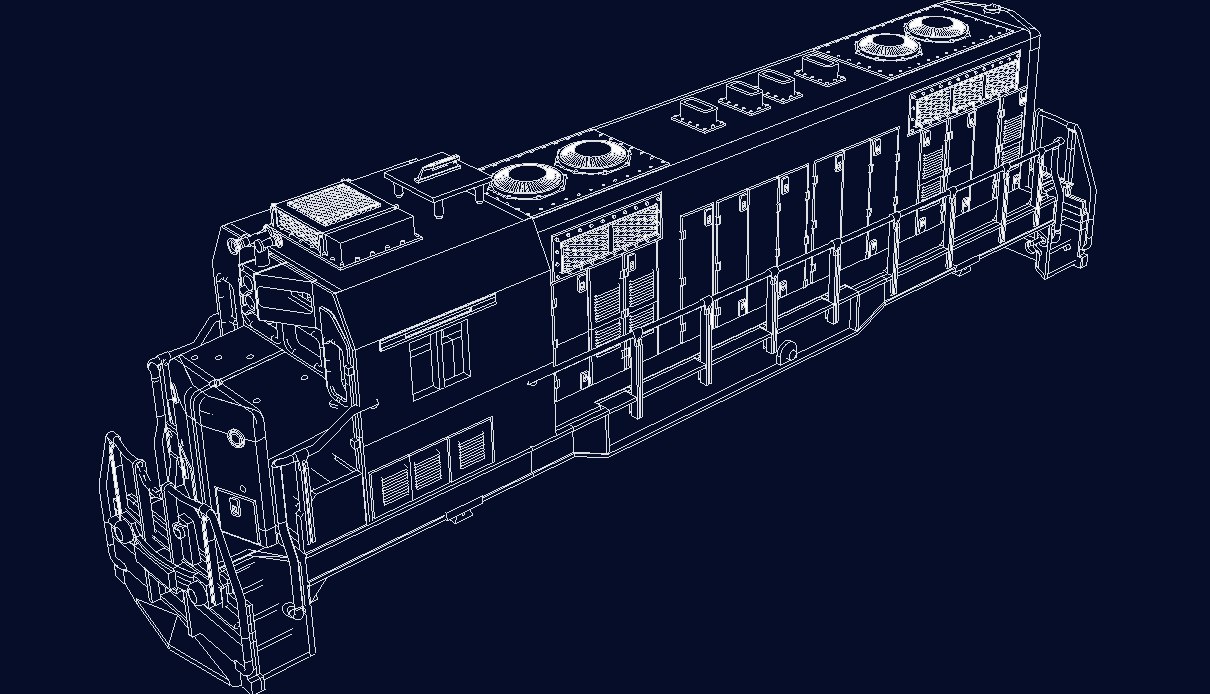
This is how your CF-7 should appear after these steps. At this point your shell is ready to add grabs and nose railing, then call it good!
With your new shell ready, carefully slide the assembly over your Atlas mechanism. Modifications may (likely) be needed to the headlamp LED to fit within the shorter shell length from the standard GP7/9. Enjoy your new addition to the pike!